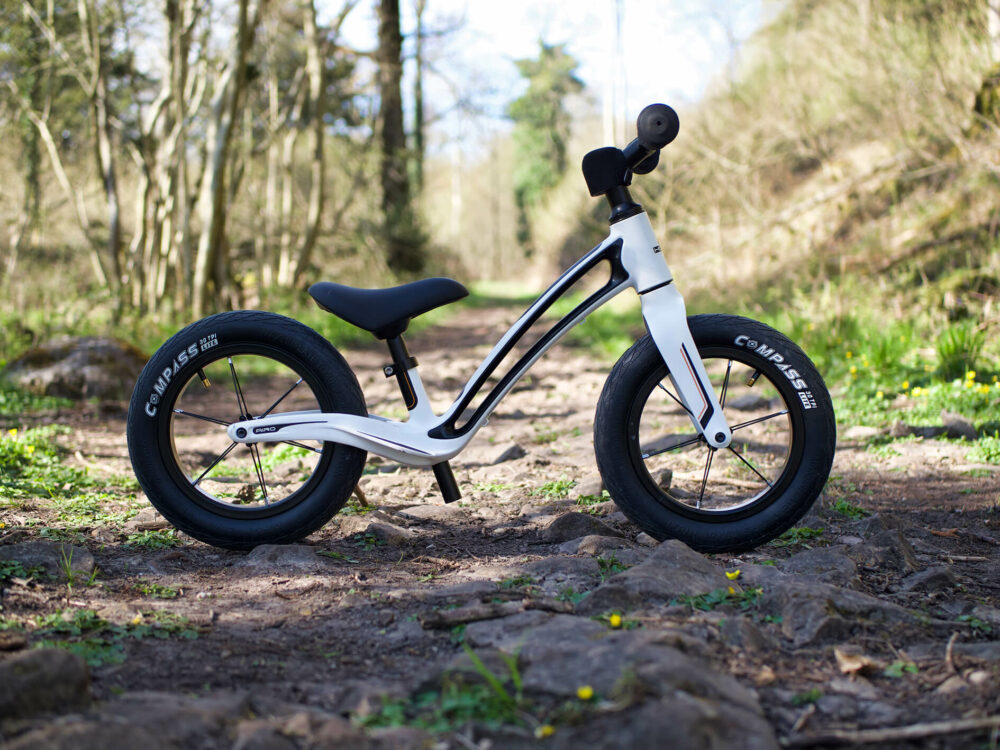
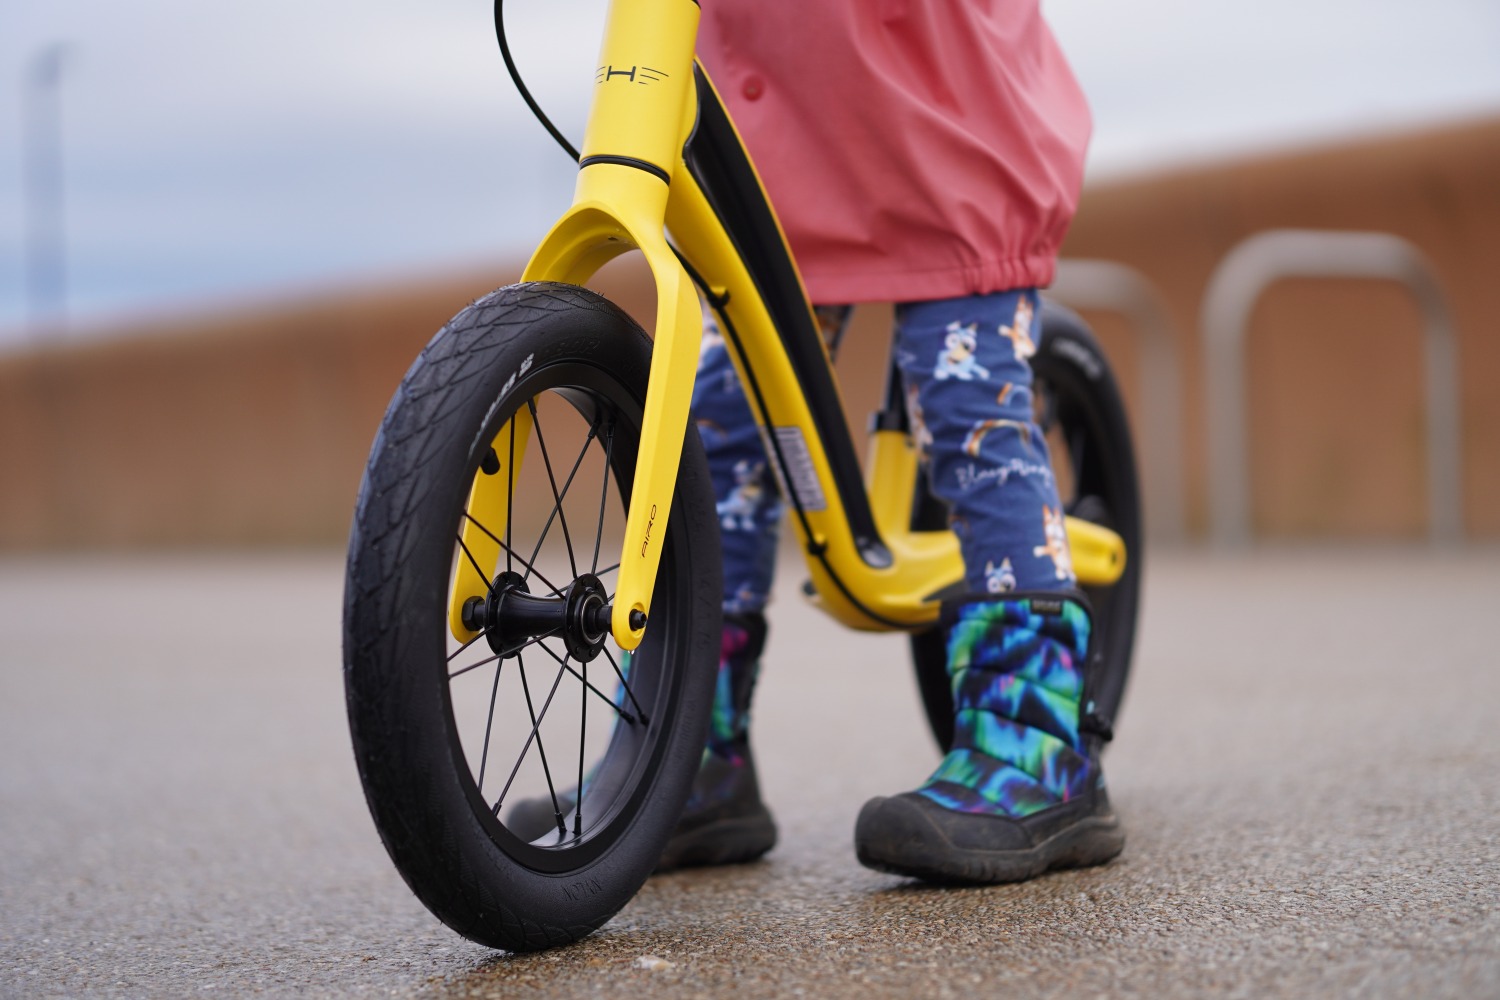
How to turn a pedal bike into a balance bike


The school run just got more expensive. There is another way
Rising fuel prices due to the Iran War are putting increasing pressure on family budgets across the UK.
If you're feeling the pinch at the petrol pump, it might be time to consider whether every journey actually needs a car.
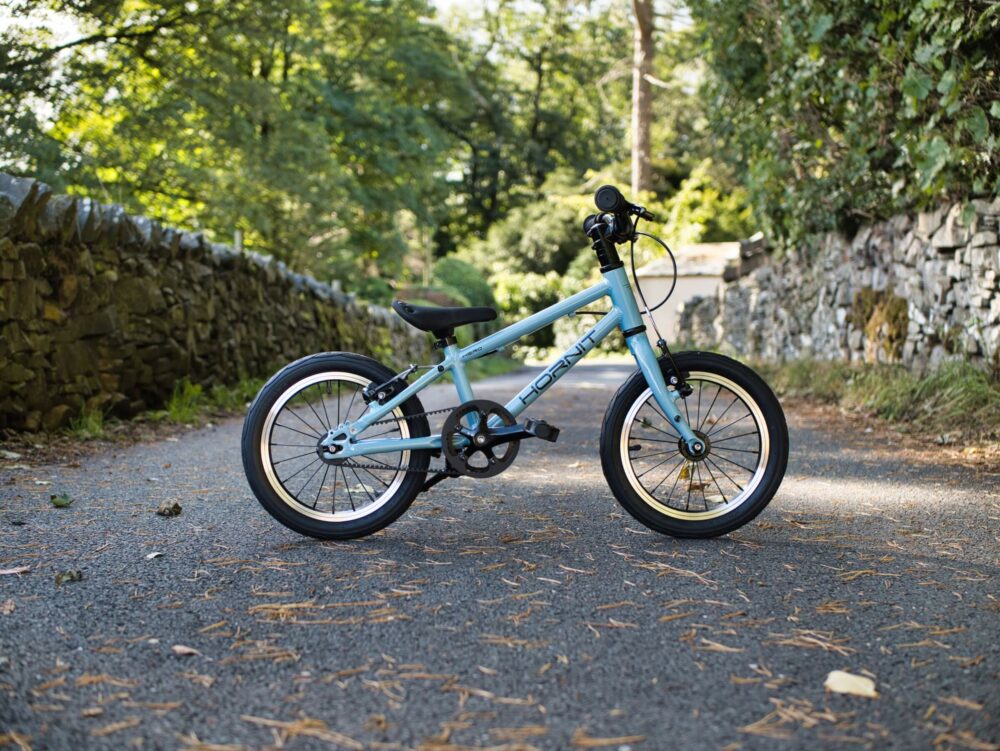
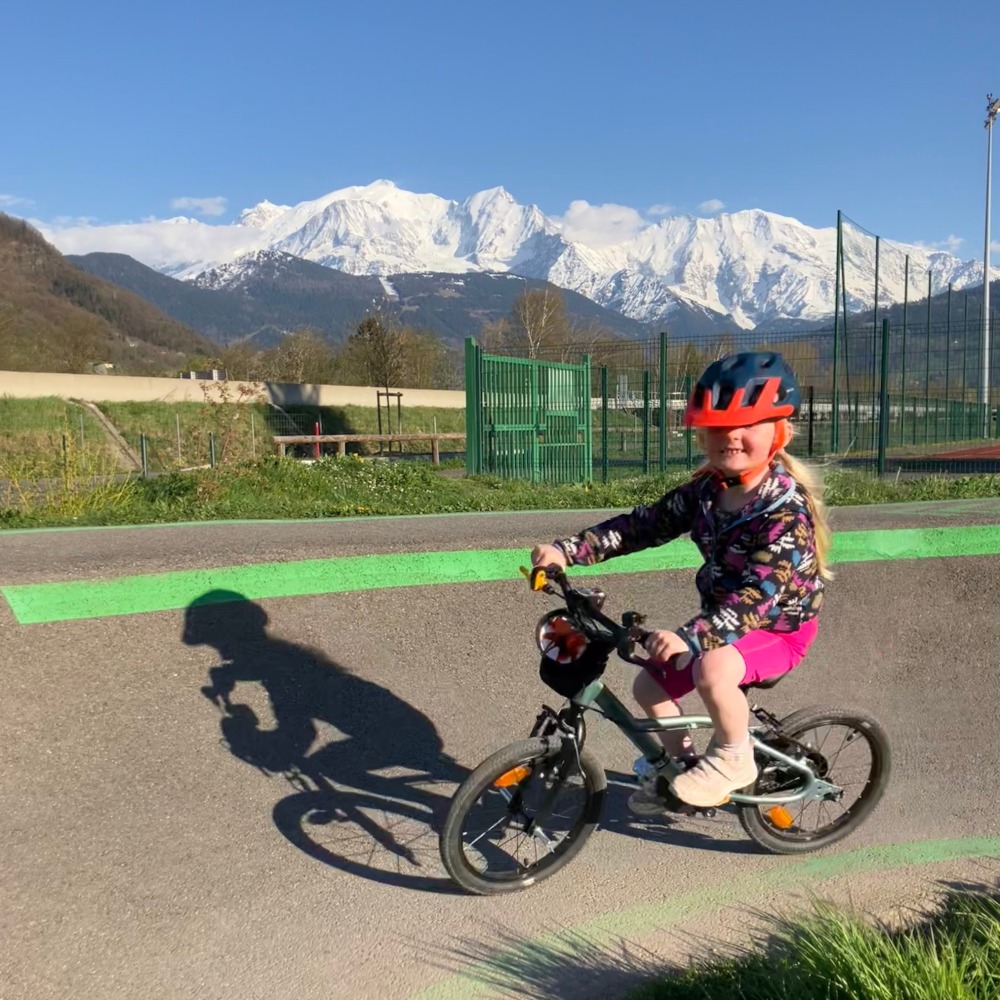
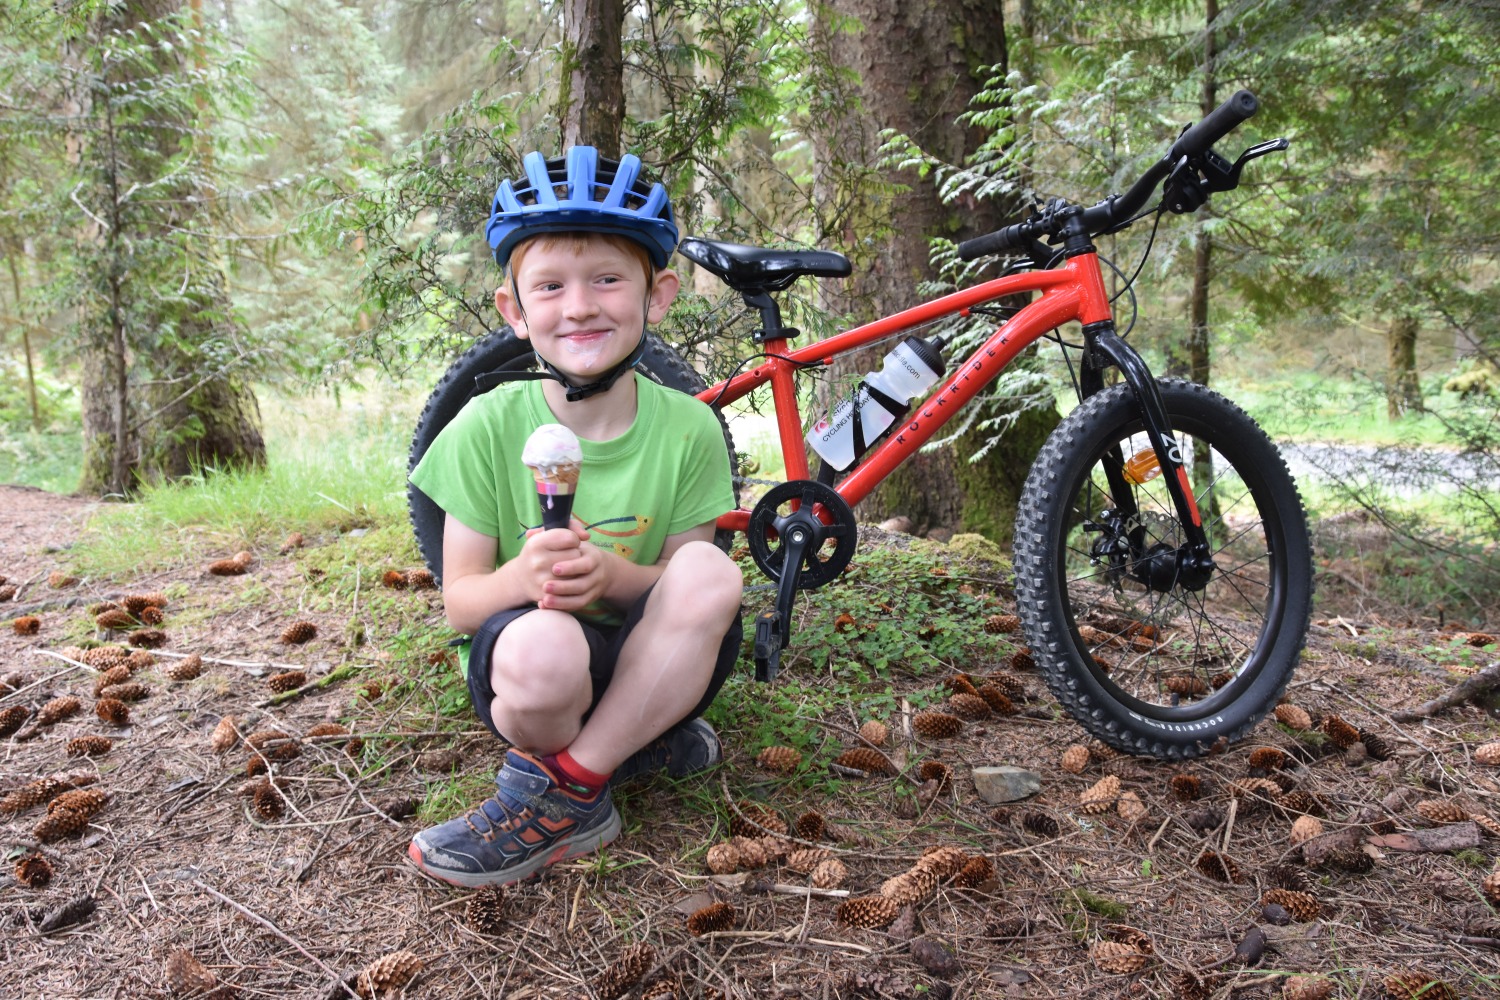
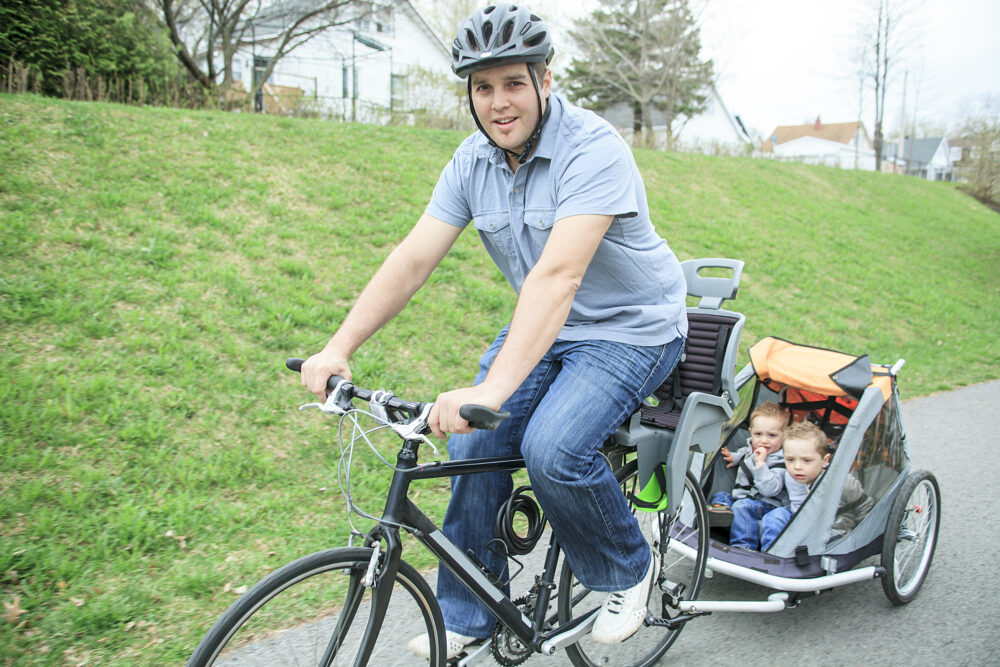
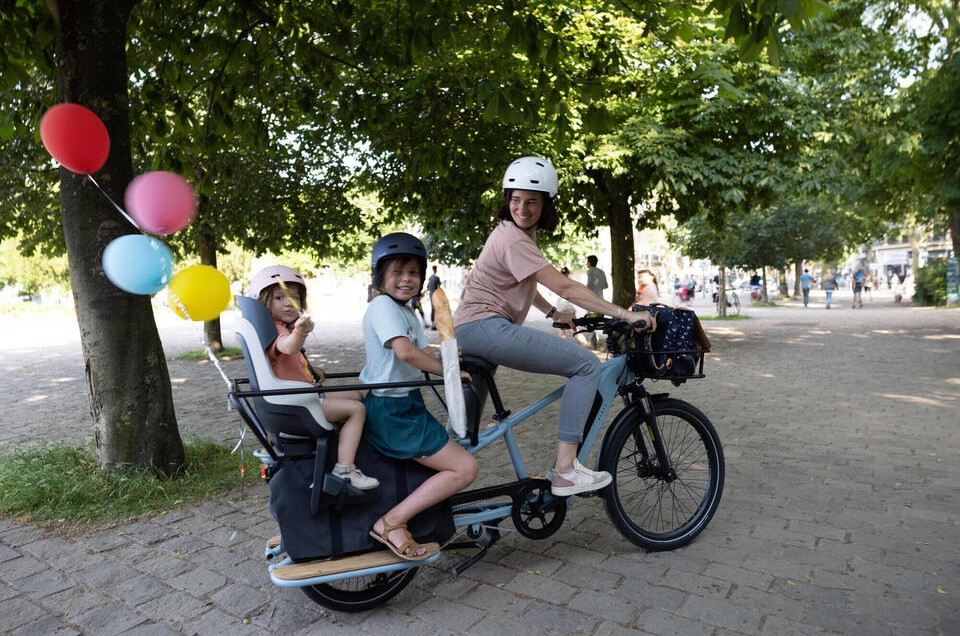
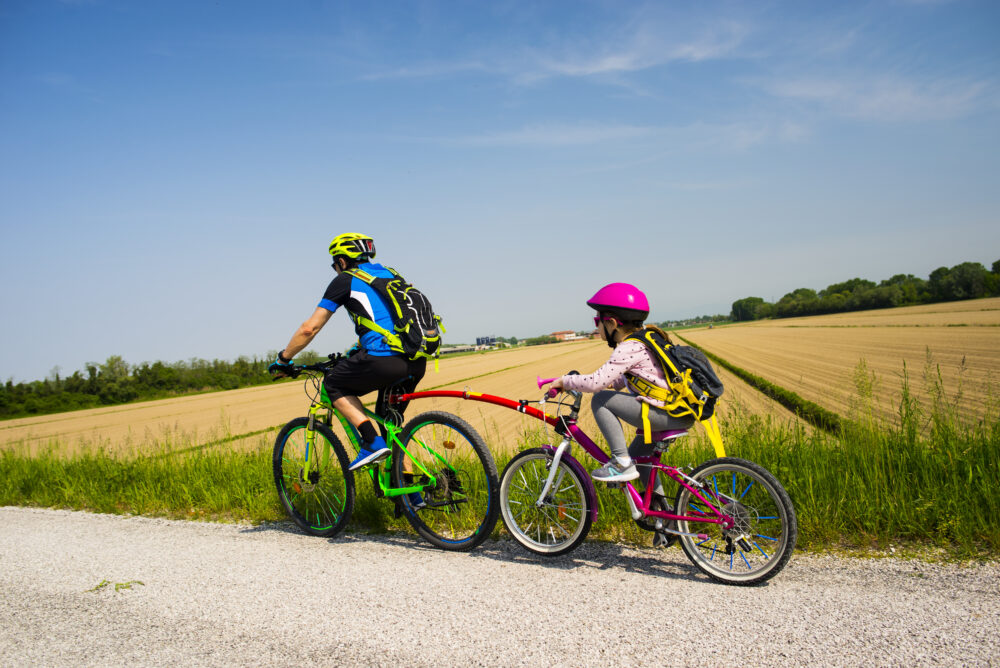
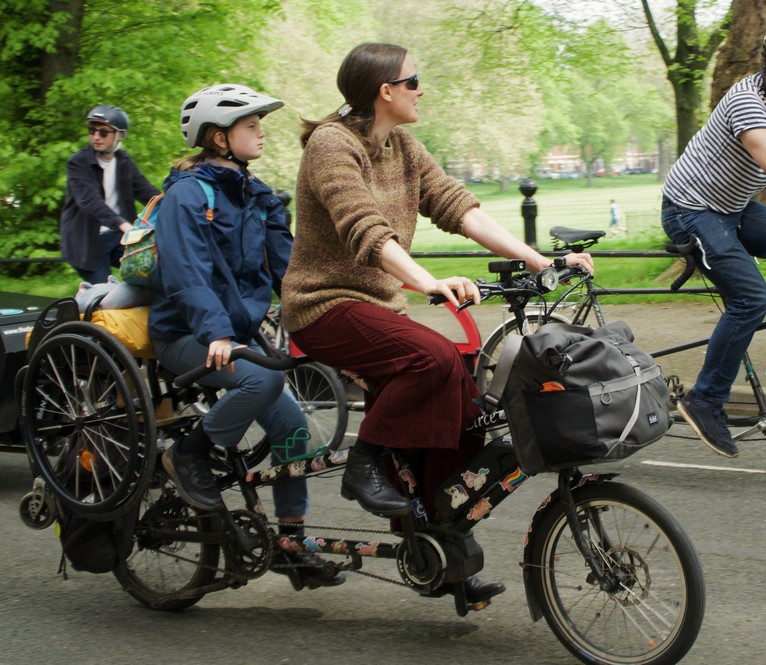
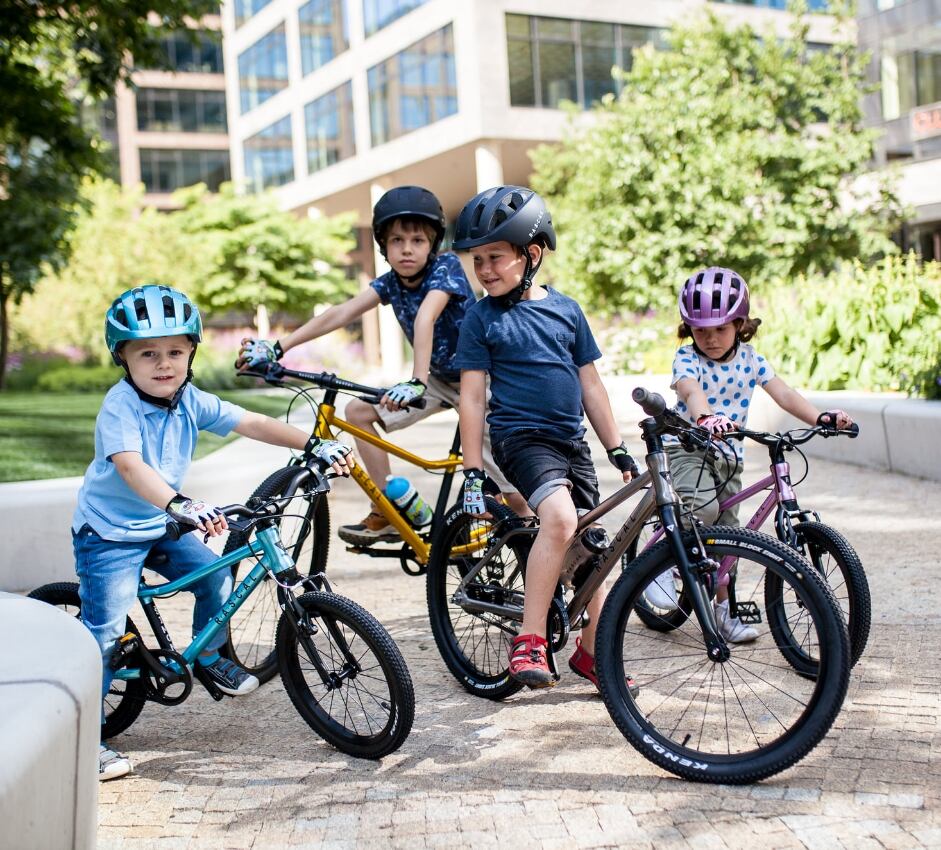
For many families, the school run and short local trips are well within cycling range - and with the right bike or cargo bike, they're often quicker and more enjoyable too.
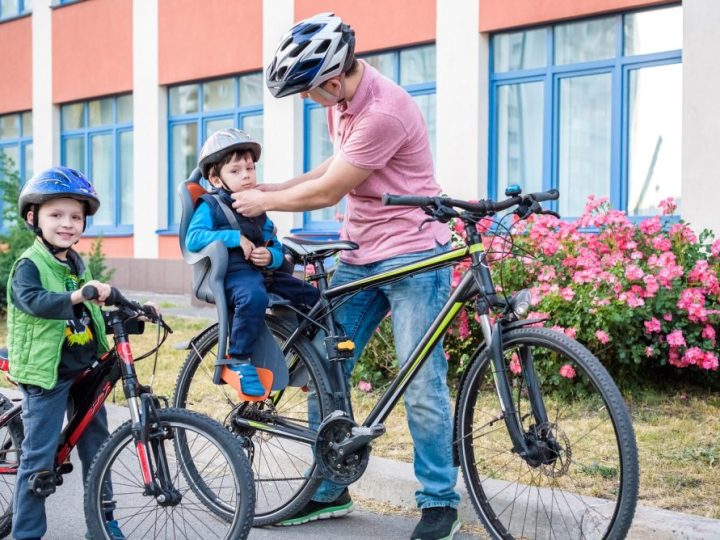
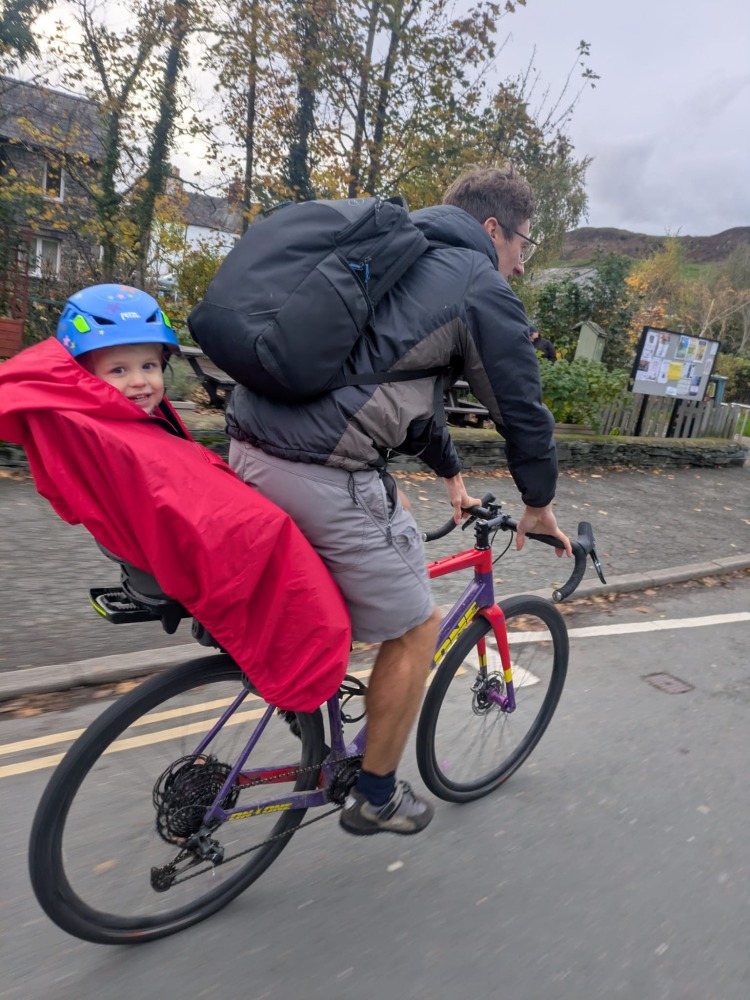
Whether it's a kids' bike for an independent ride to school, or a cargo bike that replaces the car for the daily drop-off, we've got everything you need to help your family make the switch.

Comments